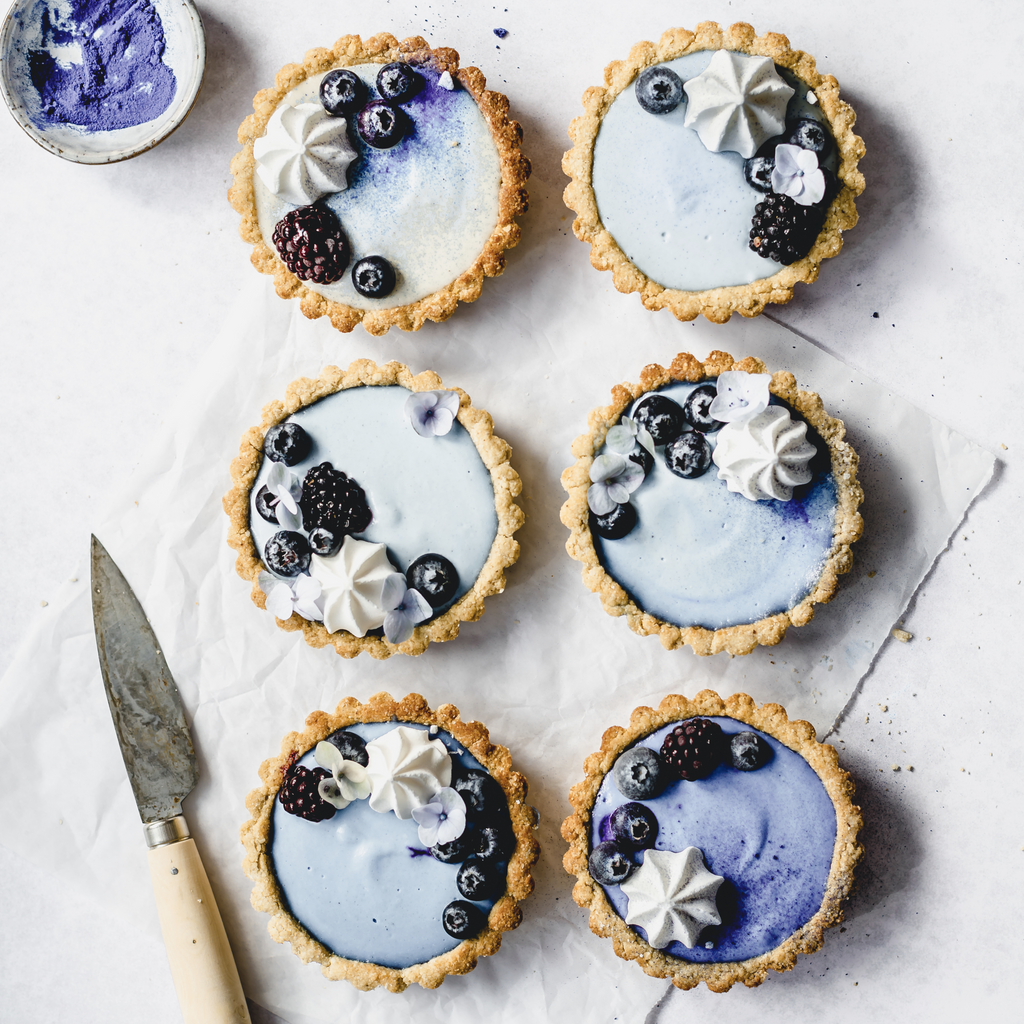
CocoCash™ Tartlets
Use your leftover pulp to make these gluten-free CocoCash™ Tartlets. The combination of a crispy oat crust, creamy coconut cashew filling and natural blue food coloring is delightful and an eye-catcher.
PREP TIME: 50 min MINS
SERVINGS: 6
Instructions
- Step 1
- 1. Add cashews and oats to a food processor/blender and pulse to combine.
- 2. Add shredded coconut, CocoCash™ pulp, coconut oil and agave syrup.
- 3. Process/mix until you get a moist crumbly mixture. If it doesn’t start to stick together add another tablespoon of melted coconut oil.
- 4. Divide the dough into six equal parts, firmly press it into the tart pans. Don’t forget to press up on the sides as well.
- 5. Bake at 350°F/180°C for about 10 minutes or until slightly golden. Every oven is different, so be careful that you don’t burn the crusts.
- 6. Allow to cool completely.
- Step 2: Filling
- 1. Add the drained cashews, coconut cream, melted coconut oil, agave syrup, CocoCash™ milk, vanilla extract and salt to a high speed blender and mix until smooth and creamy.
- 2. Divide the filling into 6 portions using 6 little bowls.
- 3. Now it’s time to create the blue ombre effect by adding different amounts of blue spirulina powder to your bowls. You can leave one filling without color if you like.
- 4. Start by adding just a trace to the first (or second) bowl. You can use a knife tip to measure a pinch. Stir to combine and to check the color.
- 5. To the next bowl add 2 pinches. If the difference from bowl A to B is not visible enough, add another pinch to bowl B or exactly as much as it takes to create a difference. Make sure to advance slowly to get a nice colors.
- 6. Decorate with frozen blue and blackberries, vegan meringue drops and blue flowers right before serving.
- 7. Enjoy straight from the fridge within 3-4 days.
- When you’ve got 6 different shades fill them evenly into the tart crusts.
- Put them into the freezer for 1 hour to help the filling to set. Then store in the fridge for 3 hours or until the filling gets firm.
Ingredients
- 1 ½ cups gluten-free oats
- ½ cup cashews (sub with almonds)
- ¼ cup shredded coconut
- 1/3 cup coconut cashew pulp, drained (from CocoCash™ milk)
- 5½ tbsp coconut oil, melted
- 3 tbsp agave syrup

Vegan Tomato Curry Lentil Stew
Vegan Tomato Curry Lentil Stew | Healthy, Cozy & Flavor-Packed!a warm, comforting, and incredibly delicious Tomato Curry Lentil Stew made with simple whole-food ingredients. This recipe is naturally gluten-free, high-protein,...
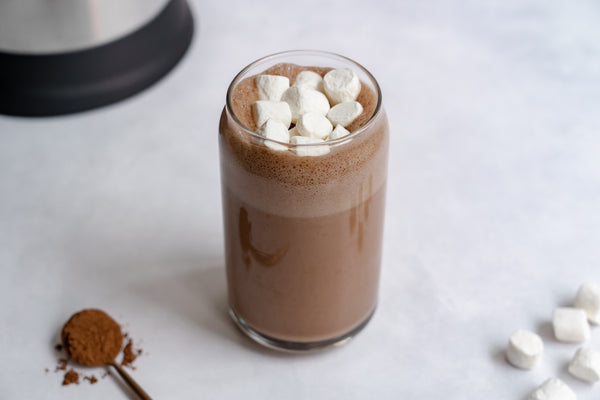
Rocky Road Milk
All of the Rocky Road flavors you know and love…now in a milk! The combination of almonds, chocolate, agave, and marshmallows blend together perfectly to create Rocky Road Milk. A...

Power Wellness Shot
Kickstart your day with our Power Wellness Shot! Packed with vibrant, fresh ingredients such as apples, beets, carrots, lemon, and ginger. Made in moments with your Almond Cow!
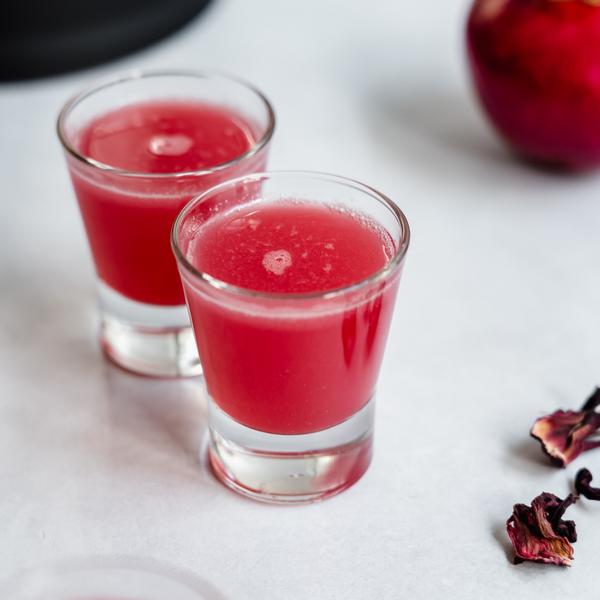
Skin Elixir
Glowing skin starts from the inside out and this Skin Elixir combines the perfect ingredients that are delicious and healthy. Enjoy this elixir any time of day!
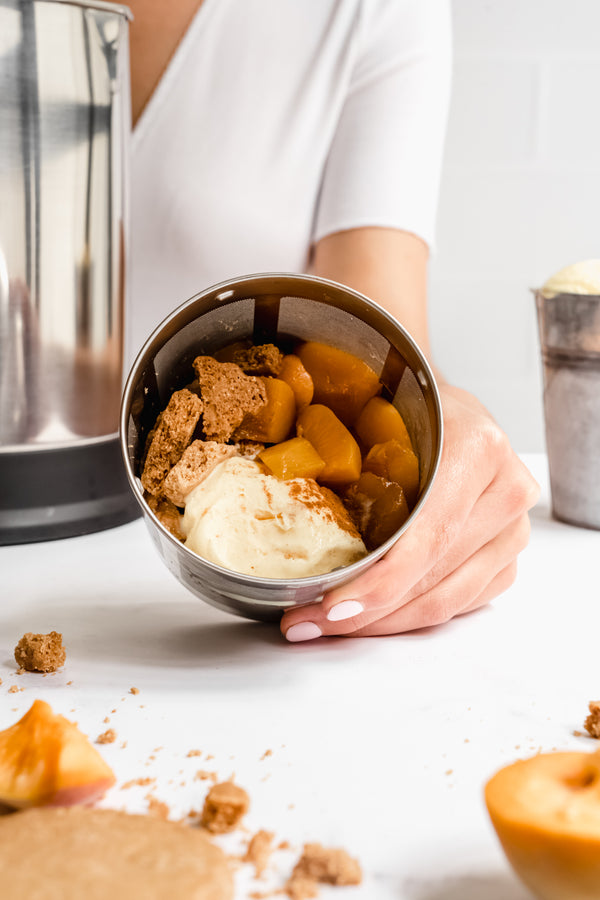
Peach Cobbler Infusion
Sweet peaches, biscuits, and your favorite vanilla ice cream come together beautifully in this delicious Peach Cobbler Infusion. Made in moments with your Almond Cow.
Blueberry Lemon Probiotic Shot
Give your immune system a boost with this delicious Blueberry Lemon Probiotic Shot. Made in moments with your Almond Cow!